Behind-The-Scenes Series – Tips From A Wedding Photographer!
Welcome, welcome! If you are recently engaged and have a million things on your mind – you have come to the right place! As a wedding photographer, I get to see so much of what goes on at a wedding and I can’t help but share some insightful info with you. There is just too much goodness to share and I must share this with you!!
If you’d rather watch the video re-cap, here ya go! Or feel free to read along. 😉
One of my favorite parts of a wedding are the getting ready details: the dress, your makeup & hair. All the little details coming together before you walk down the isle. If you are a huge fan of detail shots and candids – listen up!
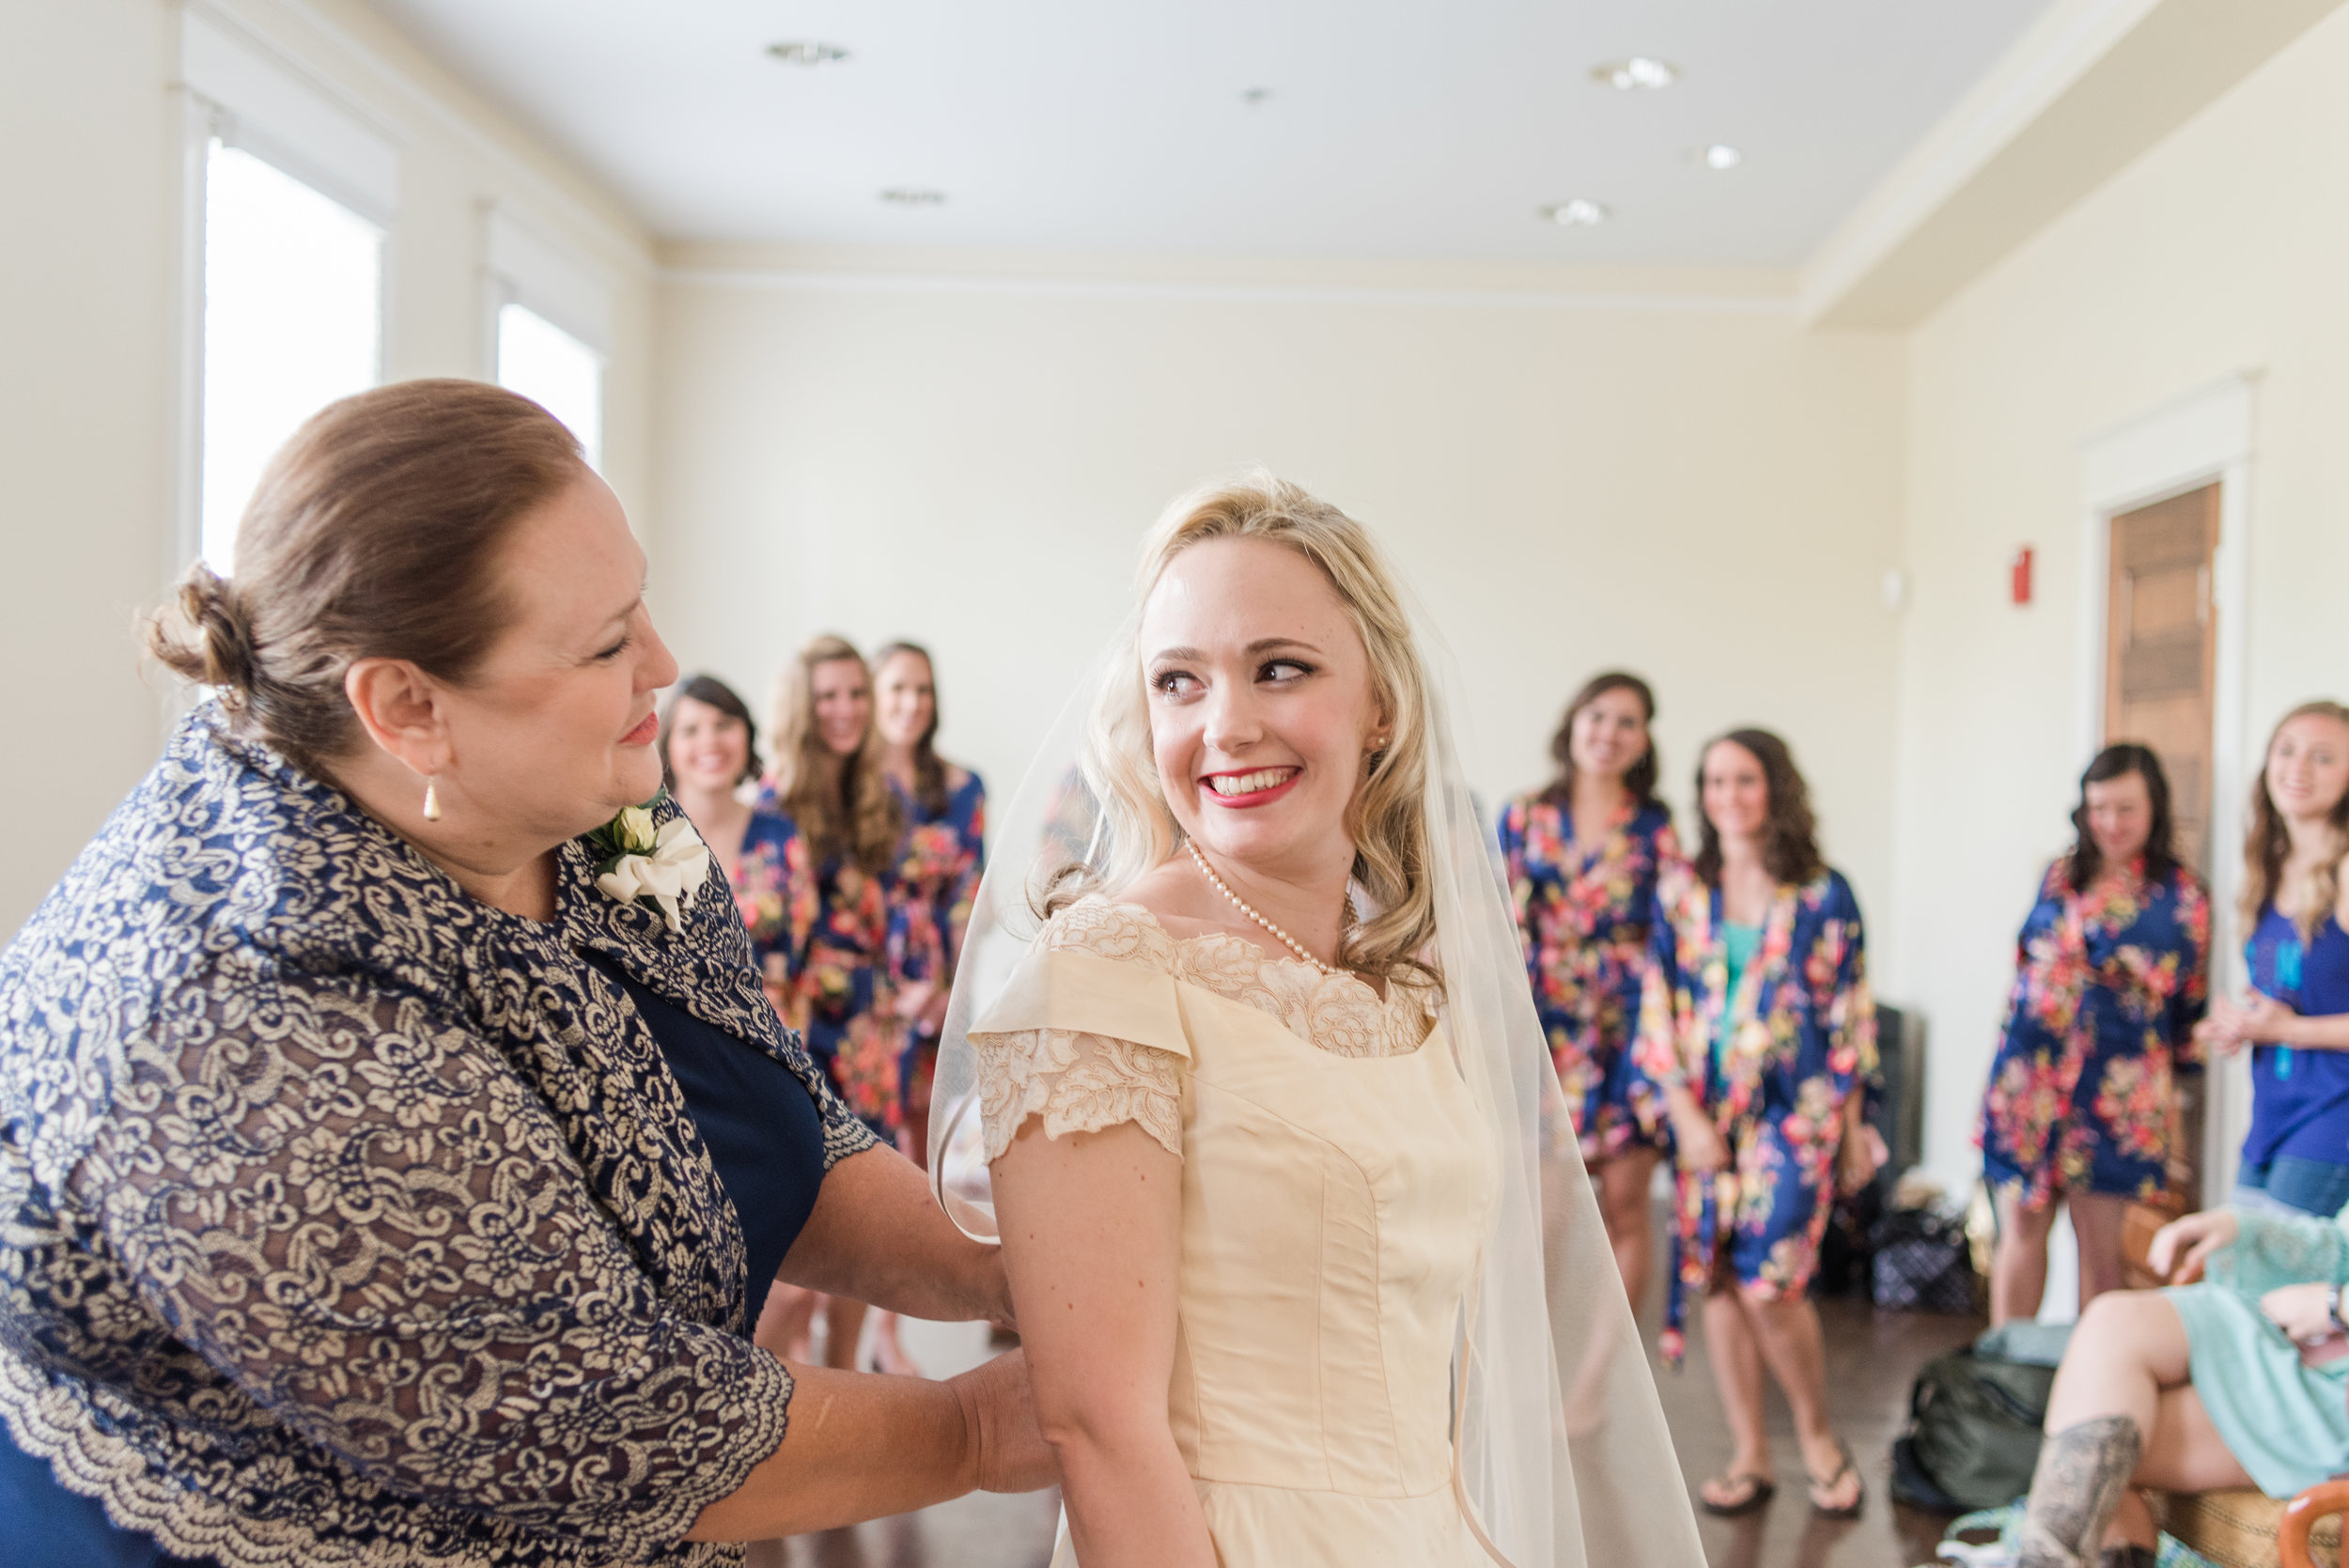
Surprisingly, where you decide to get ready, does effect how your final images turn out. You would be so surprised at how many times I arrive at a wedding to see the bridal suite have dim lighting and no windows. Or even worse….bright wallpaper or a wall mural! (think church children’s room). I’ve seen it all!
And I know as a bride, you probably do not want your background of your photos to be a Noah’s ark mural. Talk about distracting! You would be so surprised at how many times i’ll take “getting ready photos” in a completely different room than the bride actually got ready in. Just a little photography secret. Now, I will include images of the real getting ready room – but will also be looking for the perfect spot that make you look AMAZING!
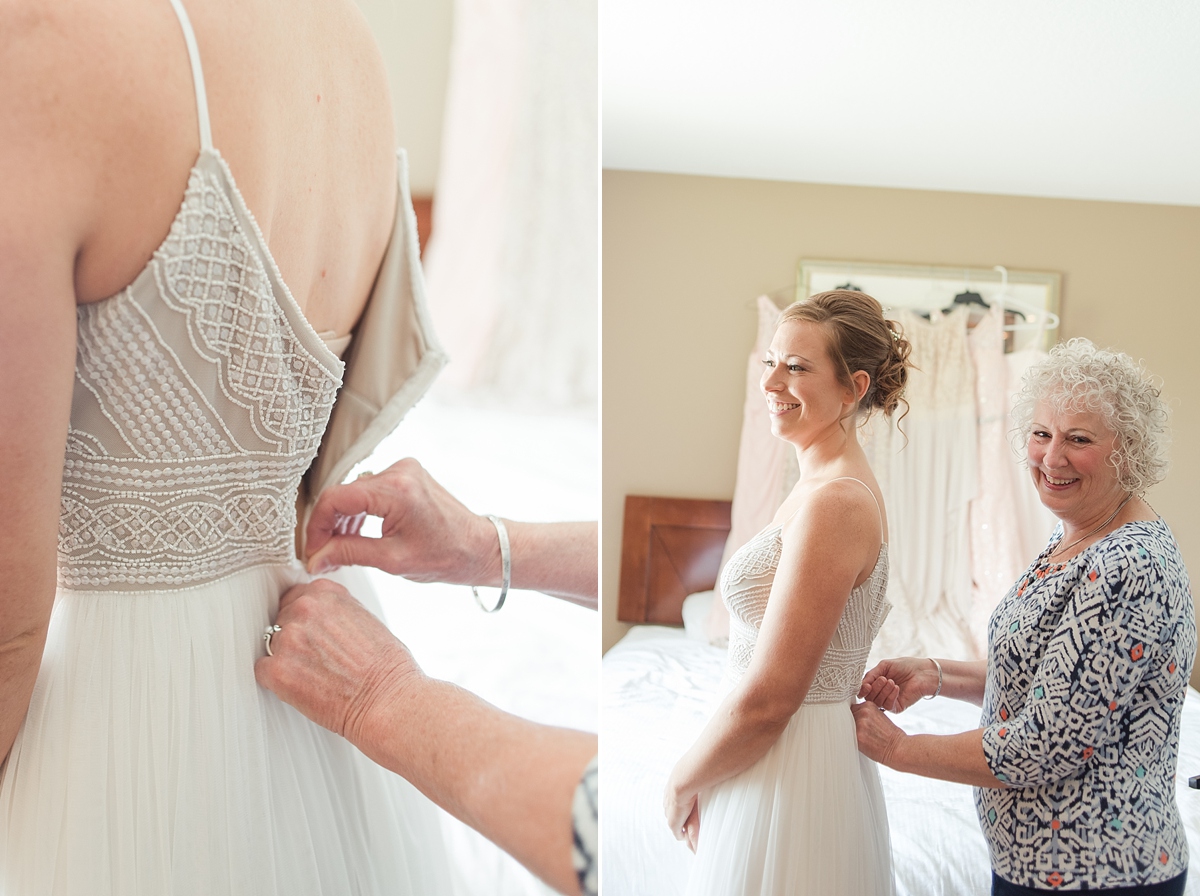
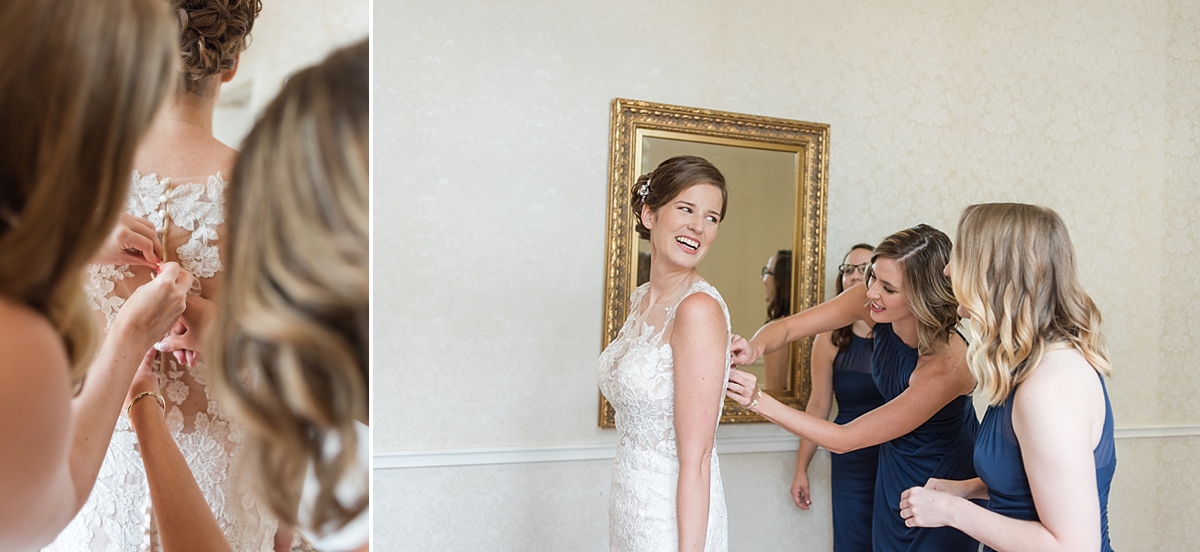
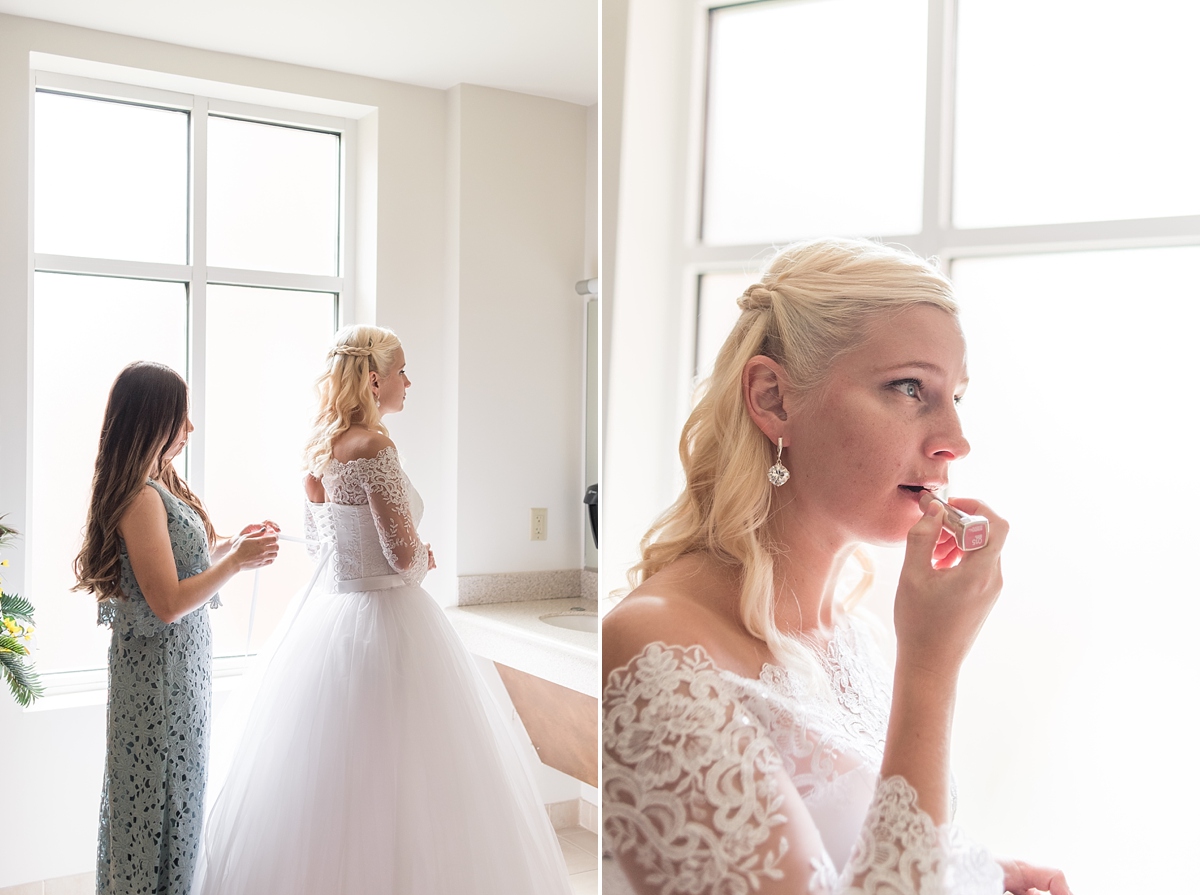
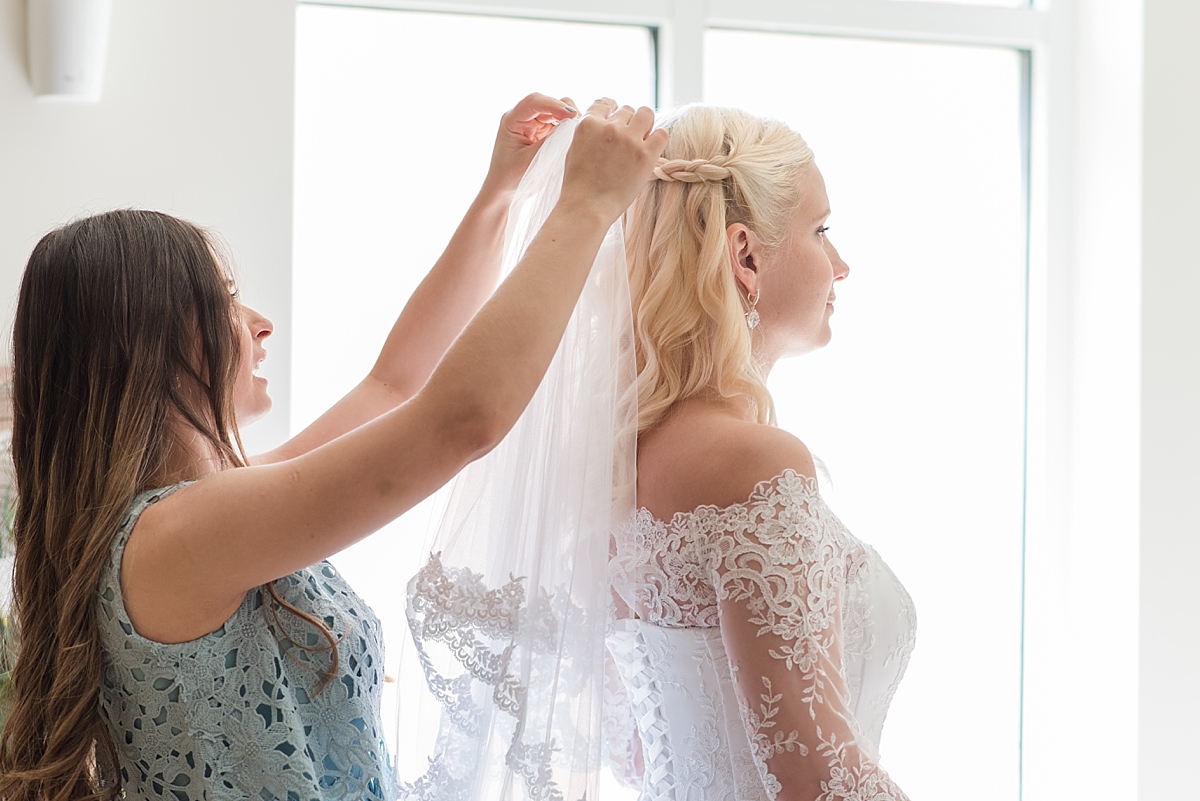
Since weddings are such a happy day and my style is more bright and clean – I am always searching for the best light to take pictures in. Below are a few examples of photos that I moved the bride to a prettier location for the “getting ready shots”. Completely worth it!
In my video, I showed a few lighting examples in my house to give you a better idea of what to look for. As well as what to look out for!

In the first red picture – remember that any bright colored room will reflect on you! So red walls = red dress & skin. Which is completely evident in this photo of me!! Hello red!
The second photo had harsh incandescent light, making my hair look orange/yellow. Yuck!
But the minute I turned those yellow lights off, the natural light provided a much better skin-tone in the third photo. So much better!!
And the fourth picture on the right would be an ideal background for a bridal photo. A lighter wall will give a brighter/happier look – which is what you want on a wedding day!
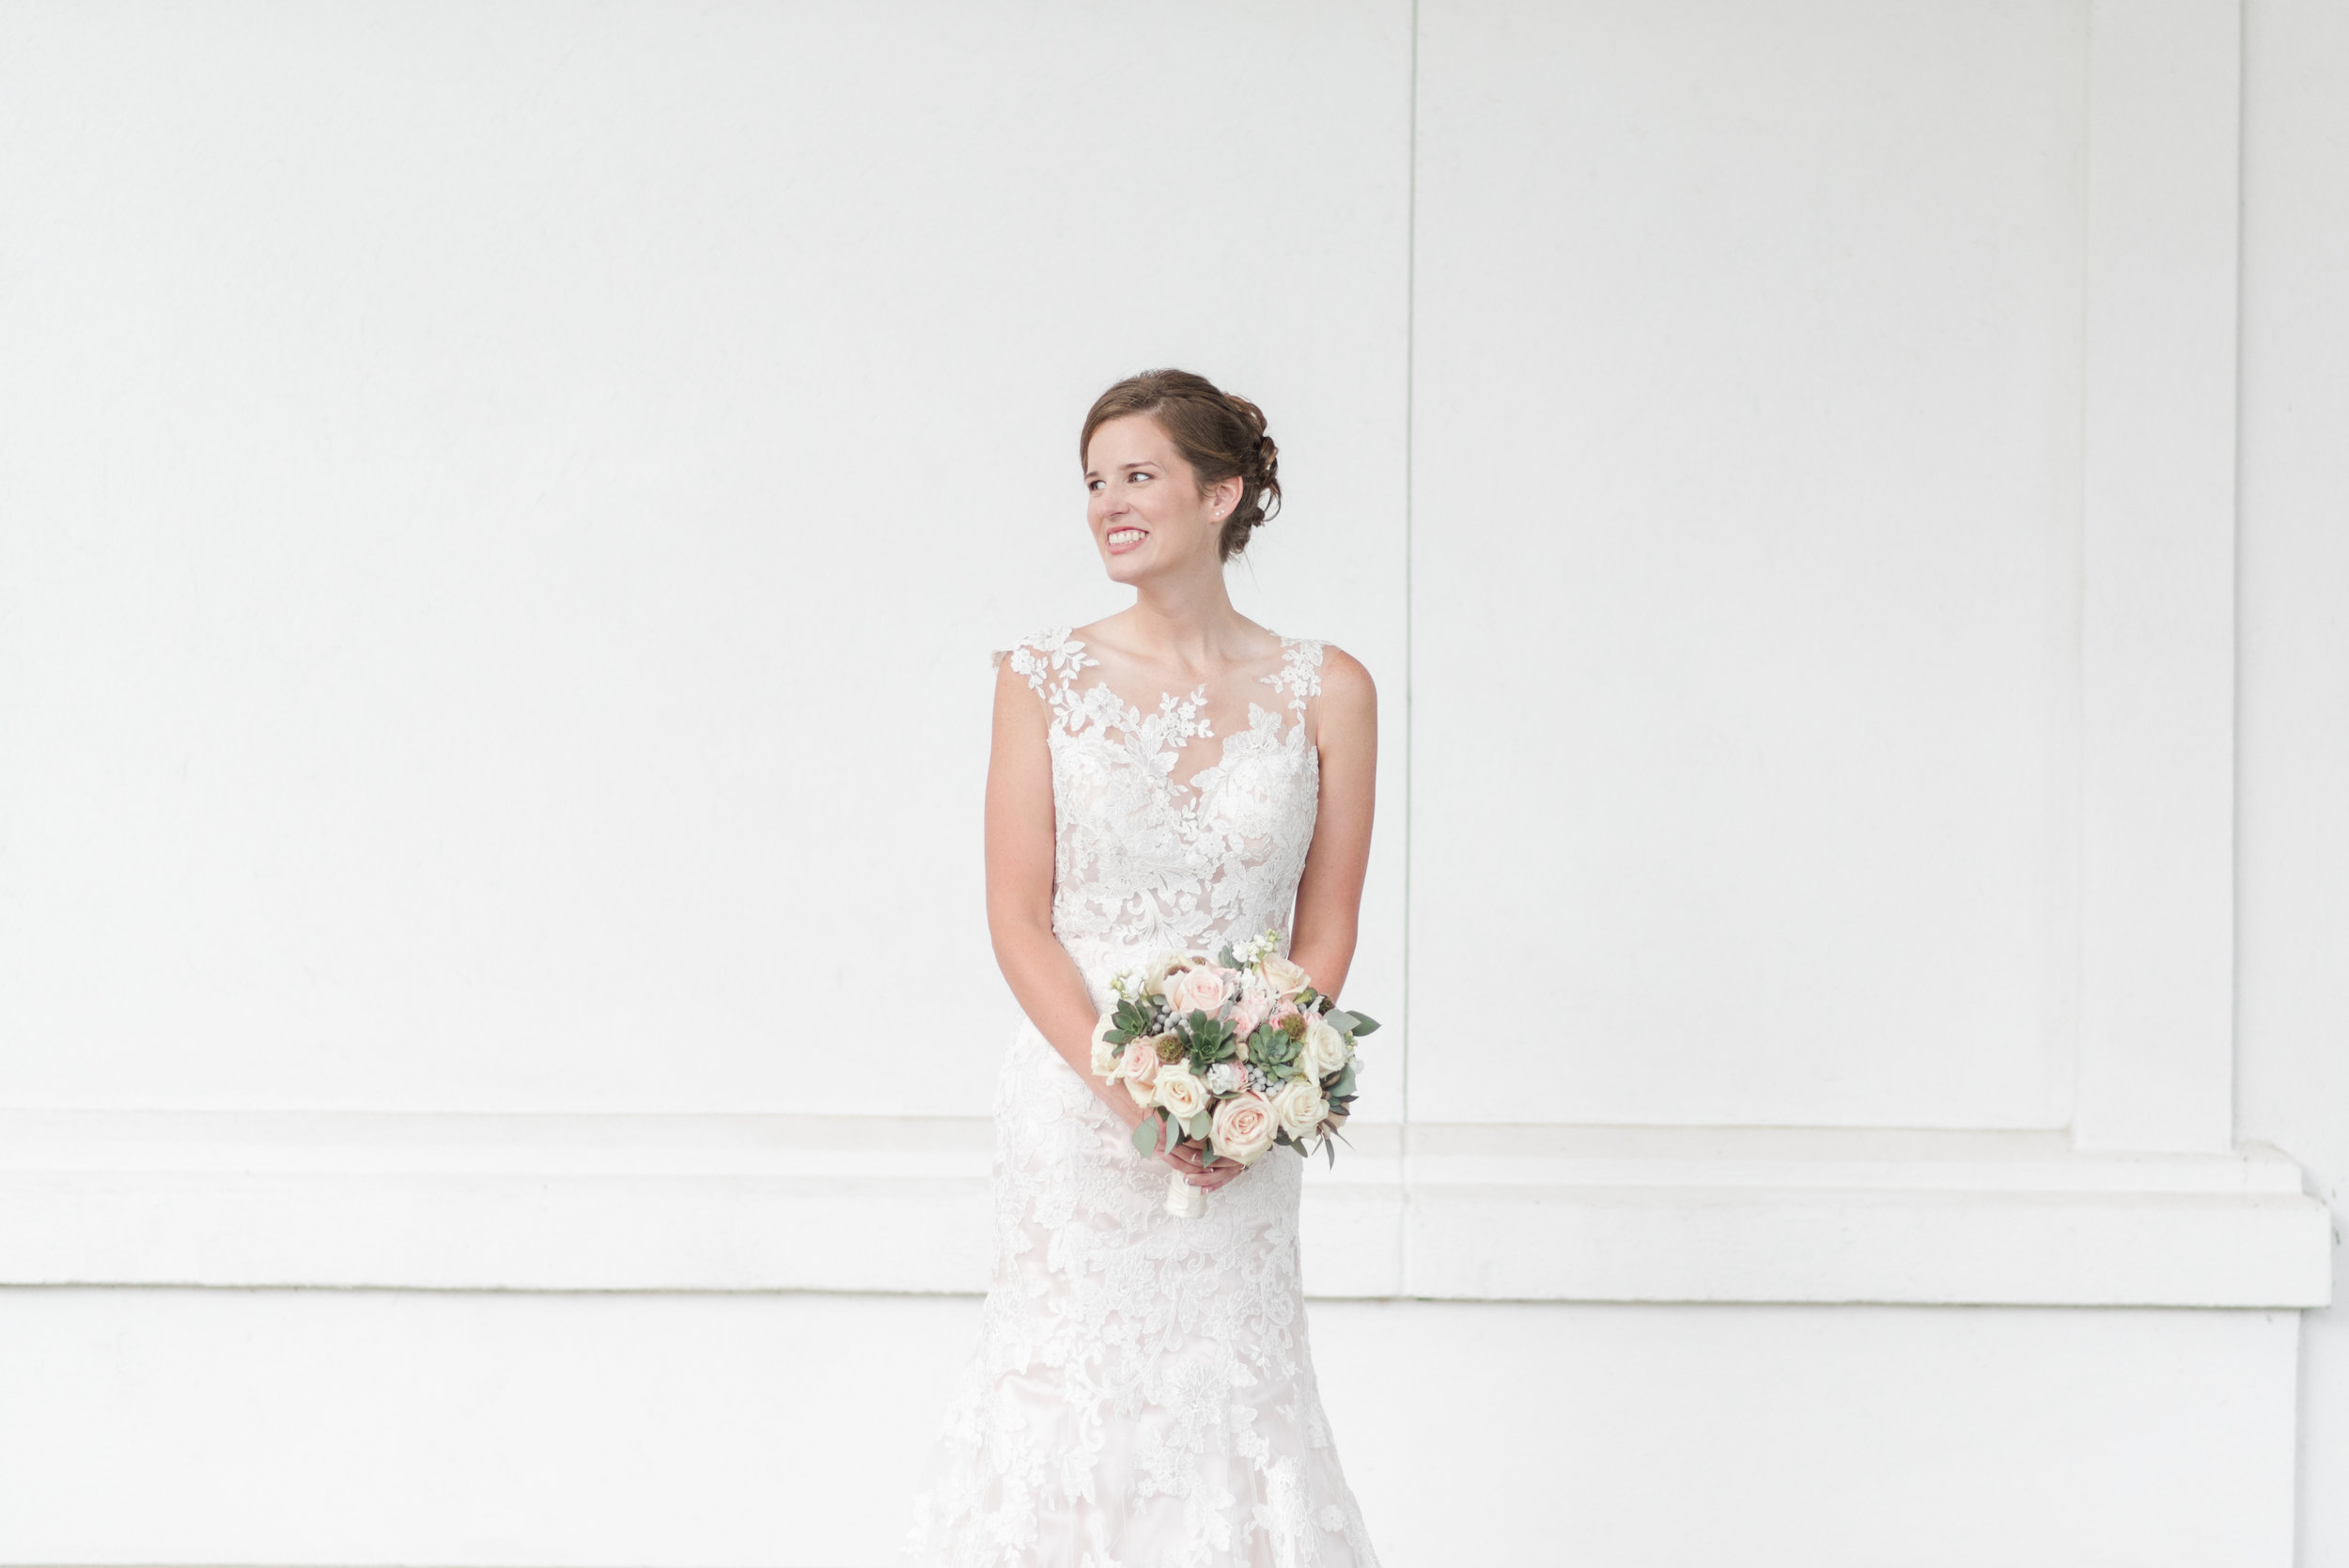
I’ve started to see a trend with brides making a proactive decision to book a hotel or air-bnb to get ready in vs. a smaller room that might be included at their venue. These are just a few tips to consider when deciding on where you should get ready for your wedding.
– Is the getting ready location close to your venue (think of travel time)
– Wall colors! (are you a fan of lime green?) Neutral colors make the best backgrounds
– Window Light (if you had to pick a room with a window vs no window…. which is best? Definitely choose that window room!)
– Your Photographer. I’m not just saying this to promote myself in any way. But the biggest factor to making your getting ready photos look beautiful, is your photographer’s ability to “see light” And for them to know how to make any lighting situation look amazing! The fanciest camera can only do so much. Trusting your photographer when they say “hey, let’s move over here to take pictures” or “let’s turn these lights off” is pure gold when it comes to getting gorgeous images. As well as choosing a professional photographer who can differentiate these small lighting details. No bride should stress over choosing the best place to get ready. Your main focus is getting married!
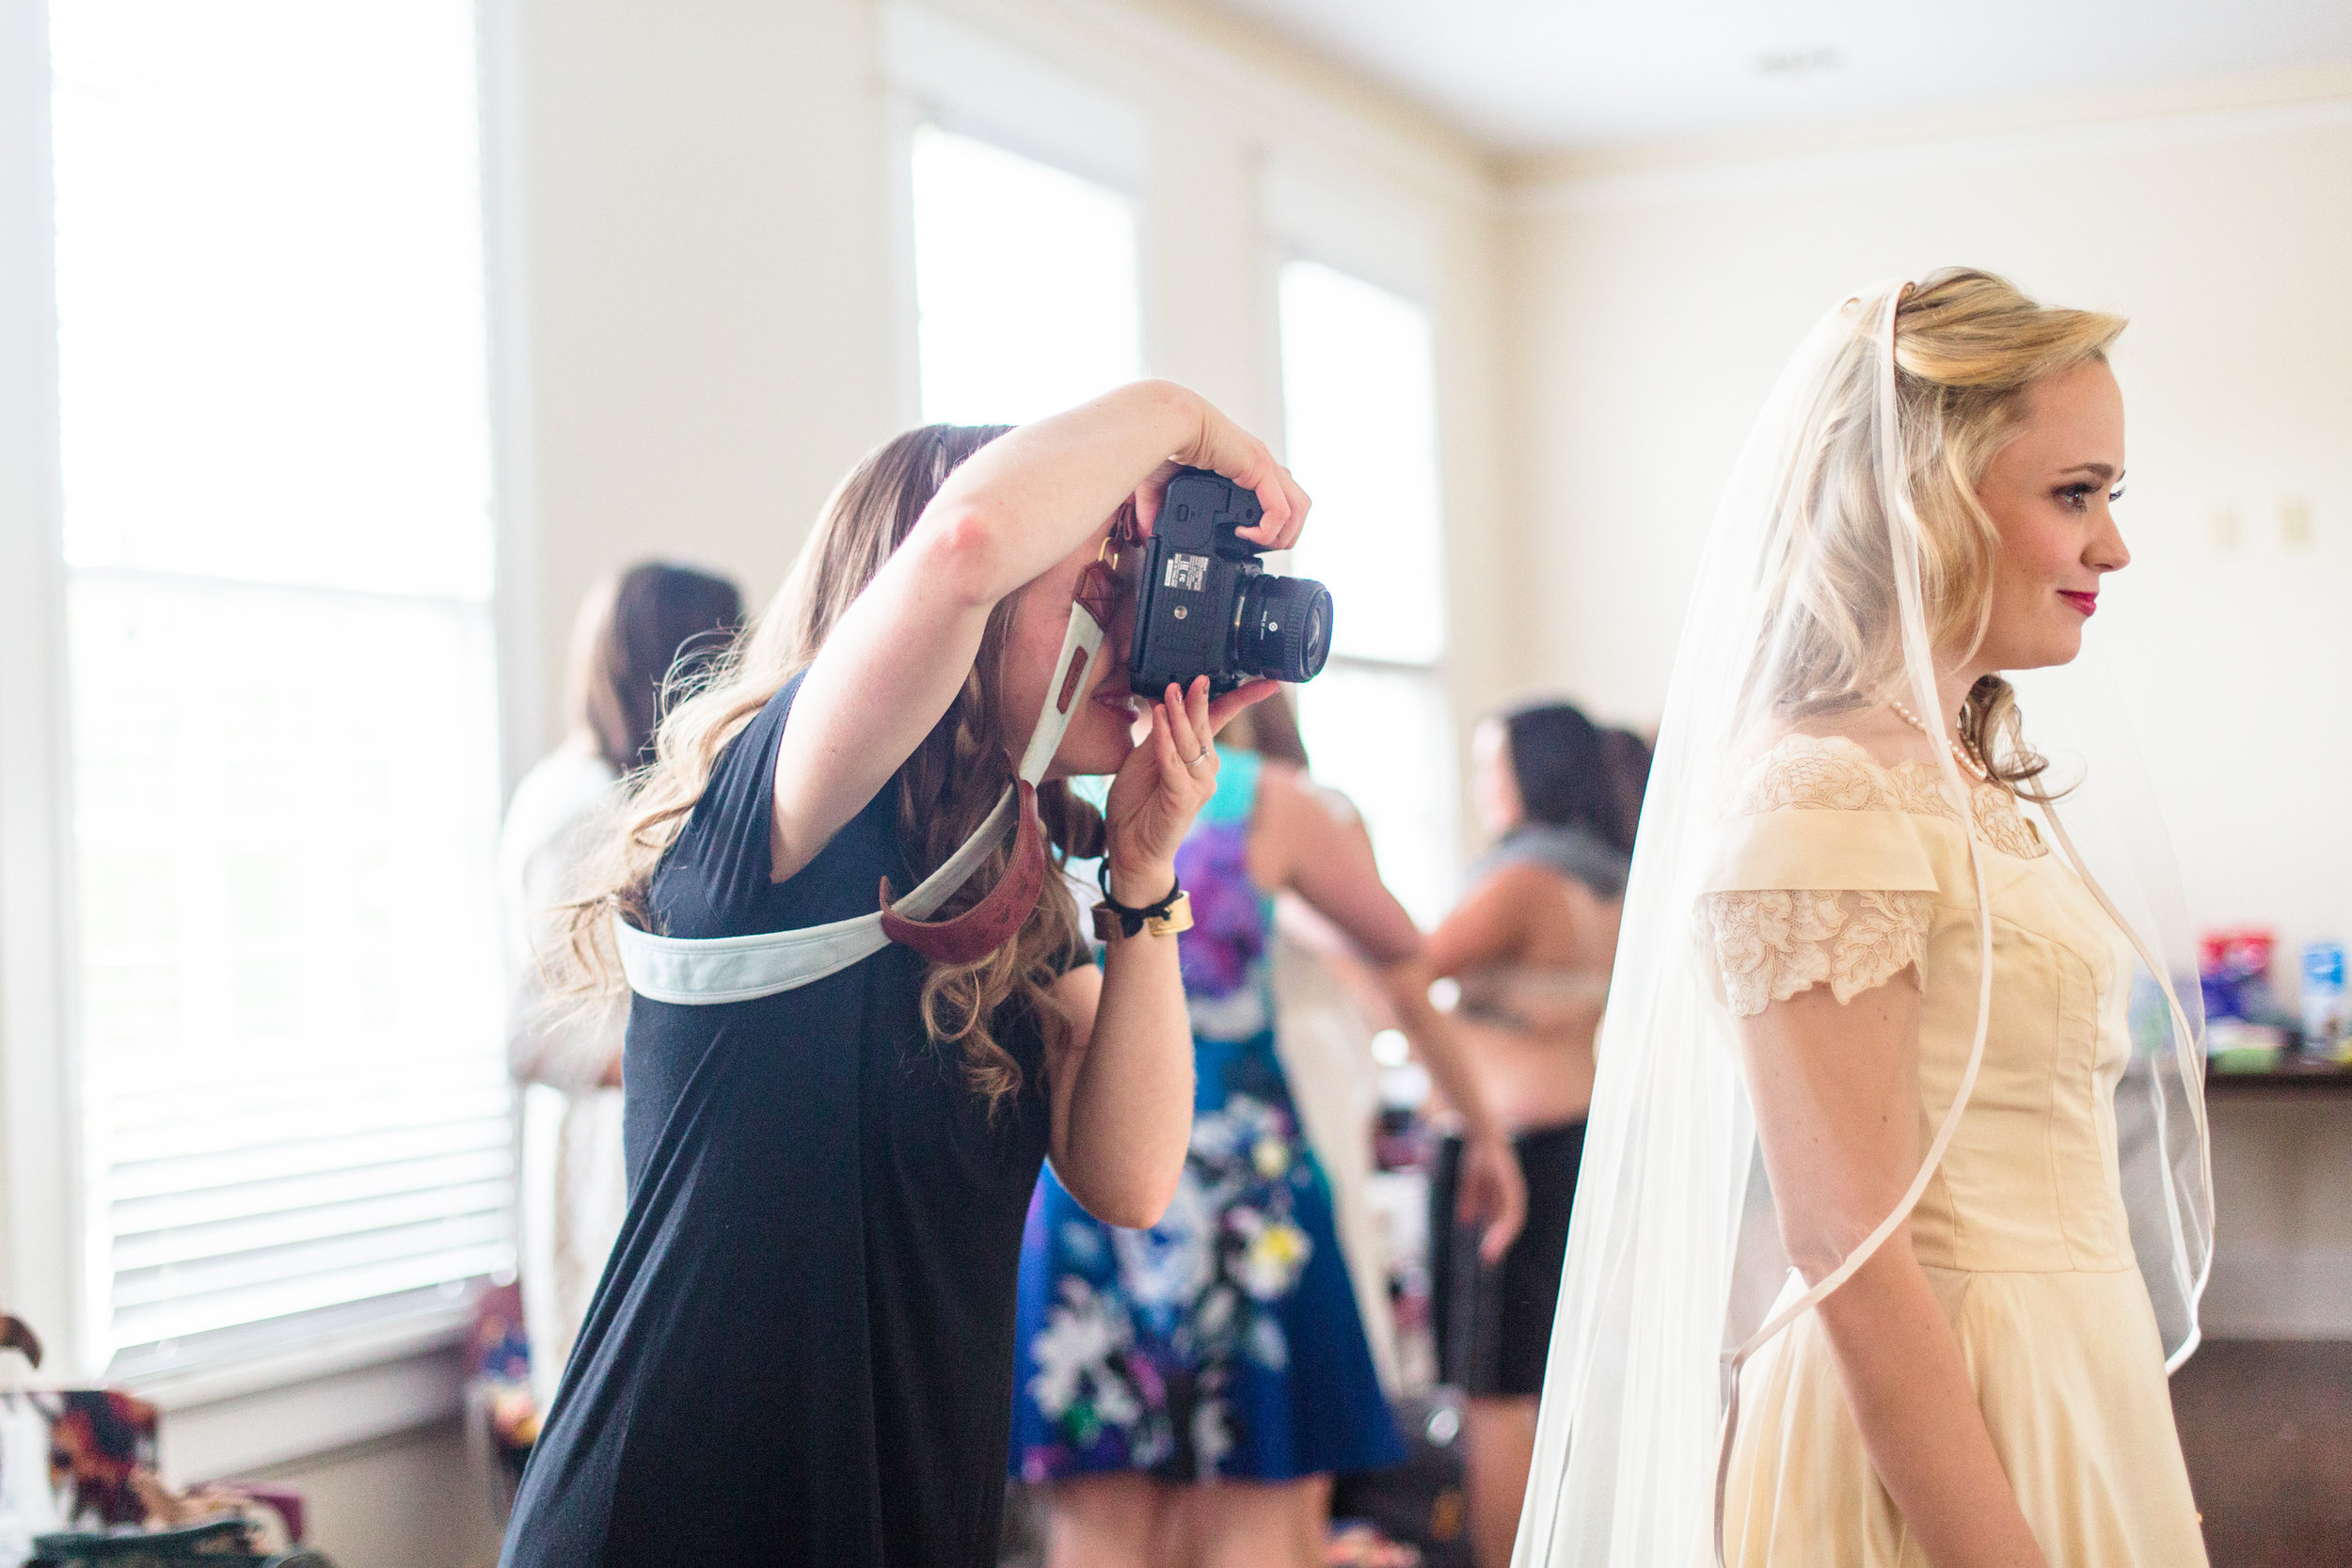
If you are still deciding on your venue or where you should get ready (I know it can be so confusing to decide details like this!) – contact me here. I’d love to answer any questions you have and discuss the best lighting for YOUR wedding. I’m the most light obsessed person you will ever meet! So I am more than happy to talk with you about something so basic. It get’s me so excited just thinking about it. #lightnerd
#mc_embed_signup{background:#fff; clear:left; font:14px Helvetica,Arial,sans-serif; width:100%;}
/* Add your own MailChimp form style overrides in your site stylesheet or in this style block.
We recommend moving this block and the preceding CSS link to the HEAD of your HTML file. */
Post Comments